Upload content to the Content Bank section and understand how this feature works
The Content Bank tab serves as a storage hub for files. Administrators determine who has access to these files, or admins can use them for storing lesson materials.
Watch this video for an overview of the Content Bank, and scroll down for more information.
Jump Down:
Typical uses for athletic programs
Typical uses for business accounts
Organizing your materials:
To create a new folder, click Content Bank > Create New Folder and fill in the fields.
- If you do not choose a user group/position group, the contents will not be visible to any users. You may use this function to mass upload materials for easy access when building lessons and quizzes.
To give a folder a subtitle, create a new folder or edit the folder name by hovering over the folder and clicking the pencil icon. 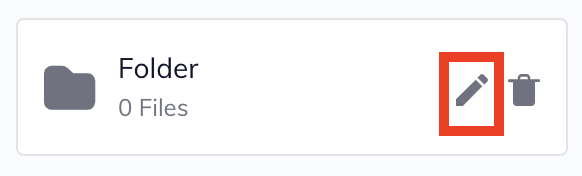
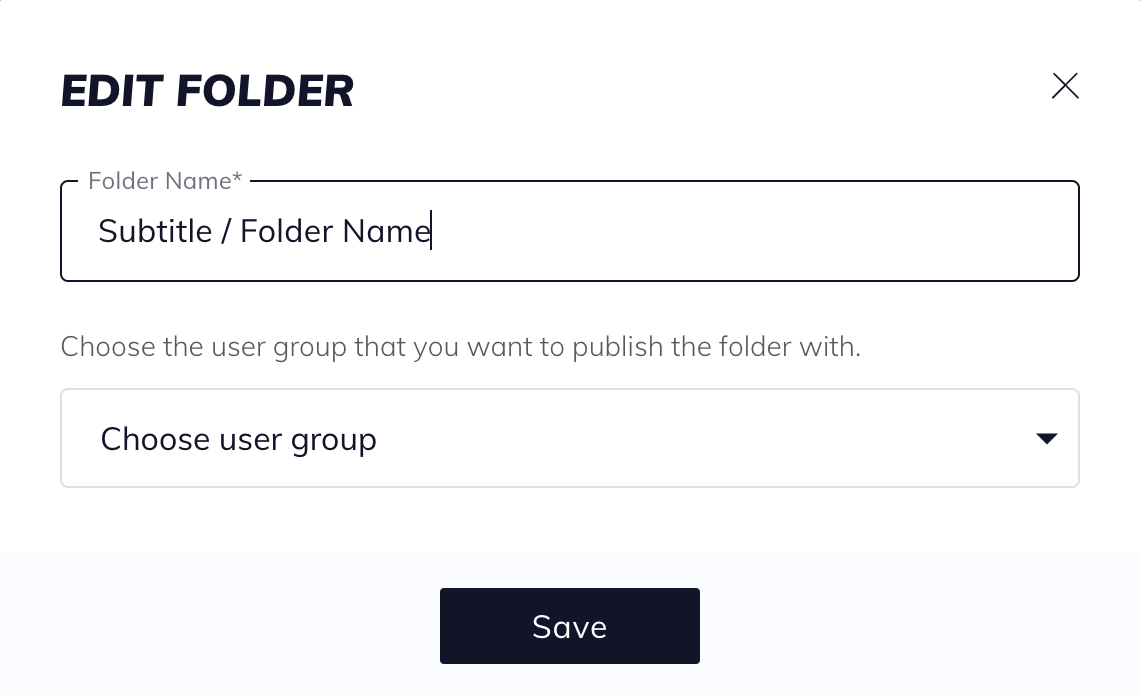
In the Folder Name field, write “Subtitle / Folder Name.” The Folder Name will be visible to anyone who has access to the folder, while the Subtitle will only be visible to administrators. To create a subtitle, it does not matter whether there is a space before and after the /.
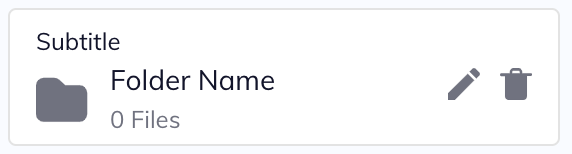
The subtitle will appear like this:
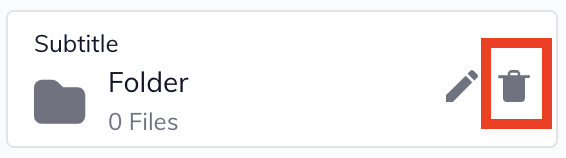
To delete a folder, hover over the folder and click the trash icon. You will be asked to confirm your action.
Uploading content:
Once you’ve created a folder, click Add New Media and select the type of media you want to upload.
- For photos and videos, click Add Photo/Video and select the files to upload from your computer. You may upload multiple files at once. Gif files also work with this choice.
- For PDFs or PowerPoints, click Upload PDF or Upload PowerPoint, respectively.
- Currently, Learn to Win only supports (.PPTX) files. Make sure when saving a PPT, you save it as such before uploading it to the Content Bank.
Note: You can use OBS to record from your screen or QuickTime Player on Macs. To cut a movie together, you can use iMovie on Mac or Kapwing.
Currently, you have to upload as an mp4. To convert a file to mp4, use cloudconvert.
Media Sizes
When uploading files, we suggest following these size guidelines to ensure a quality media upload:
| Good File Size | Max File Size | |
|
Image into Content Bank |
17MB | 40MB |
| Video into Content Bank | 49MB | 100MB |
| PPT into Content Bank | 80MB | |
| PDF into Content Bank | 20MB | 20MB |
| Number of images to upload at once | 10 images | 10 images |
| Number of videos to upload at once | 12 videos | 12 videos |
| Image into Lesson/Quiz | 8.5MB | 20MB |
| Video into Lesson/Quiz | 30MB | 50MB |
| PDF/PPT into Lesson/Quiz | 20MB | 20MB |
| Image into "Package Image" | 10MB | 10MB |
| Image into coach/user profile image | 17MB | 40MB |
Controlling access:
Administrators control which users can view each folder. Folders are visible only to account admins if no users are selected.
- When creating the folder, you can choose which user groups you want to publish the folder to. You may choose to leave this selection blank and add user groups later.
- You can choose to share the folder later by clicking on the folder and then selecting Choose user group.
- To remove access, click the X next to the user group/position group name. Users will immediately lose access to the content.
Typical uses for athletic programs:
- Upload and store playbook diagrams
- Store game and scouting footage
- Upload PDFs and PPTs for easy lesson and quiz creation
- Host Microsoft Visio diagrams
Typical uses for business accounts:
- A data library for files
- Upload and store existing videos/pictures that you want to build lessons from
- Store existing word docs, PDFs, and PPTs for lesson and quiz creation
- Upload videos and pictures directly from your phone to build lessons off content captured in the field